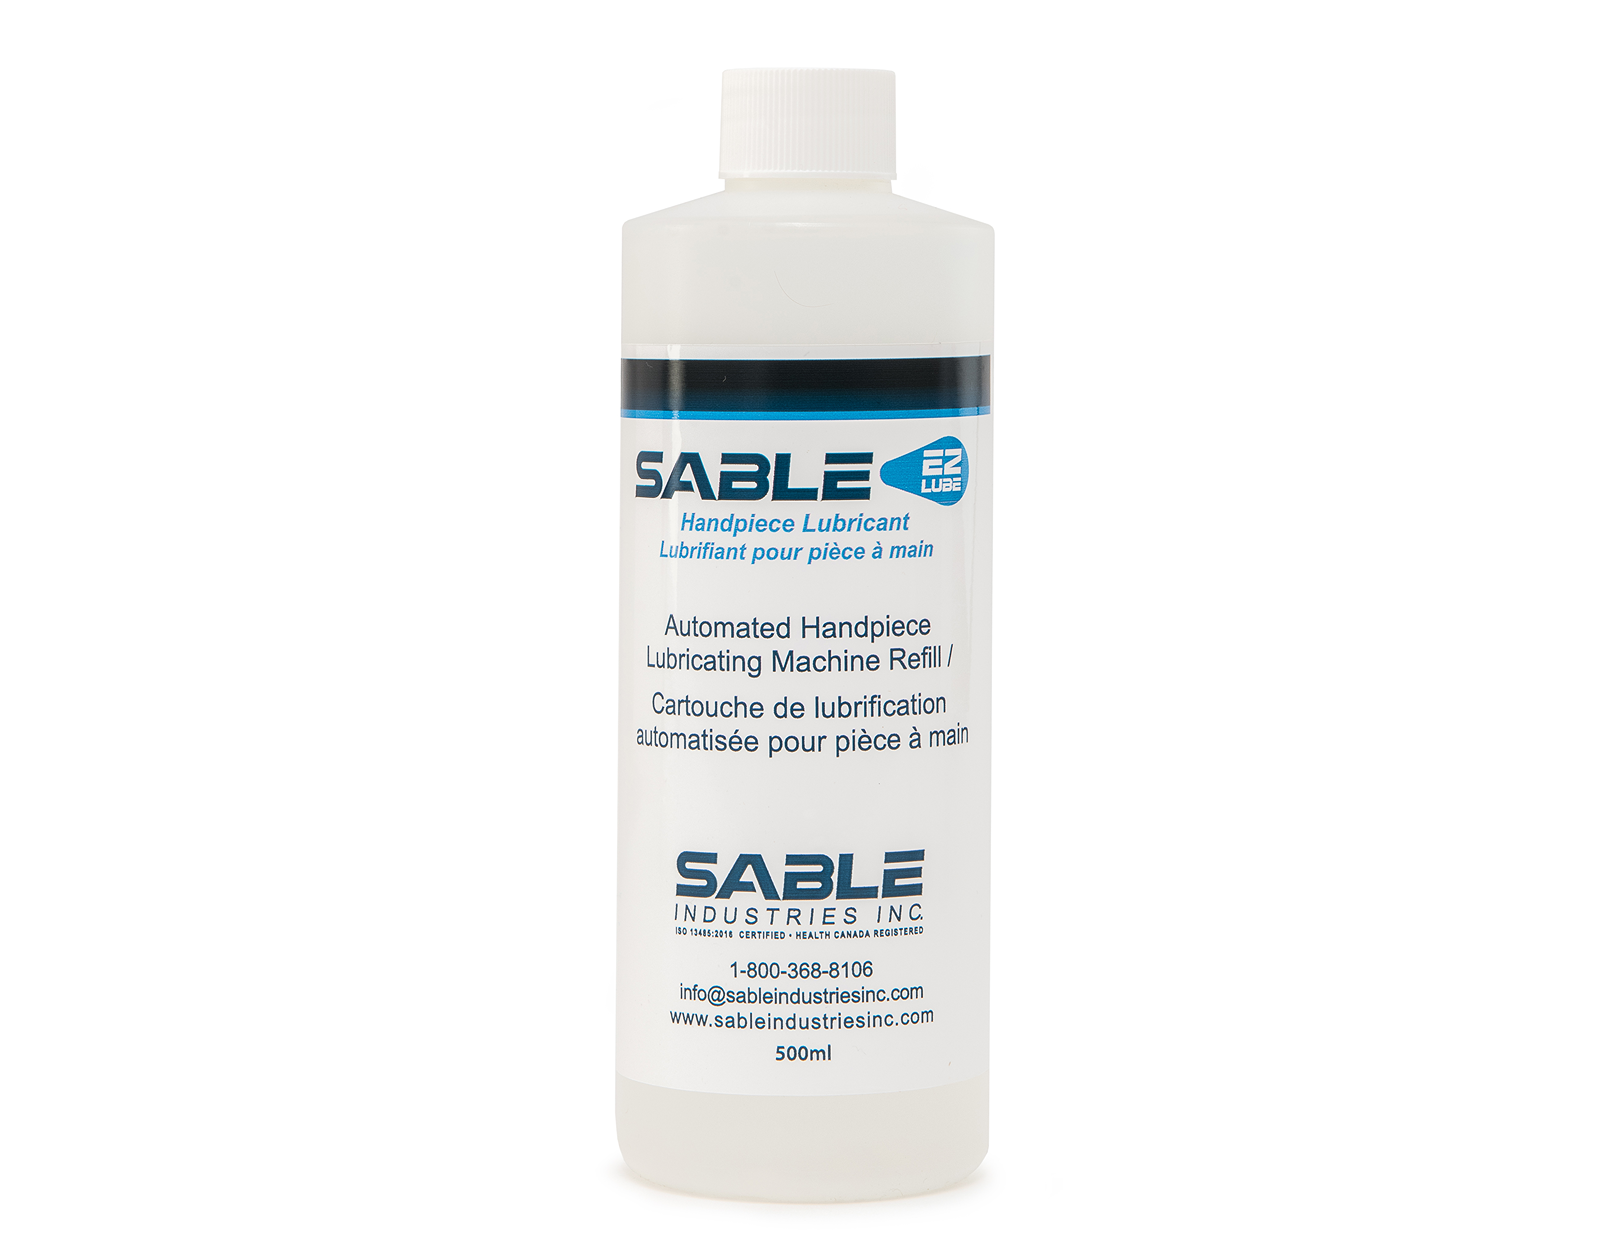
A high-quality handpiece is key to giving your patients the best possible results! And since dental handpieces are a considerable investment, you’ll want to extend their life for as long as possible. Fortunately, there’s a surefire way to ensure you get the most out of these important instruments: dental handpiece maintenance.
Maintaining your dental handpiece isn’t rocket science by any means. However, it’s a fairly intensive process, requiring some extra effort and diligence on your part.
You could write entire volumes on all the ins and outs of maintenance for various handpieces; however, there are key points that apply universally to virtually all of them. Follow this 10-point checklist as a starting point to optimize your dental handpiece maintenance process!
1. Manage Pressure Levels
The manual that comes with your dental handpiece should include air pressure specifications. These aren’t mere suggestions — they’re integral to properly maintaining your handpiece!
Landing upon the ideal levels requires a perfect balance, as is highlighted in the manufacturer’s specifications. Ignoring these instructions will leave this critical piece of dental equipment open to severe turbine damage, whether the handpiece is low or high-speed.
2. Use The Right Tools For The Job
A high-quality dental handpiece is a sensitive device, often requiring manufacturer-approved tools for even the most minor maintenance or repairs. You might be tempted to reach for your household pliers to handle a nagging yet small repair — as much as it might go against your proactive nature, don’t do it! It will likely cause more damage.
If you don’t have the skills or tools to get the job done right, contact the manufacturer or a trustworthy handpiece service company.
When it comes to handpiece repairs, you should ensure that your instruments receive only premium quality handpiece parts. Poor-quality aftermarket parts might seem cost-effective upfront, but you run the risk of damaging your handpiece and voiding its warranty.
Sable Industries carries a complete line-up of premium quality air driven handpiece parts, electric 1:5 speed increaser parts, and a variety of small equipment parts. Contact us to learn more.
3. Simplify the Wipe-Down Process
Wiping down the handpiece is, of course, necessary both for hygiene and maintenance. Cleanliness is essential to extending the life of all your dental tools.
However, there is a caveat: this process should generally be kept simple. Rely on warm water, potentially with a mild detergent, to wipe down the handpiece before lubrication and sterilization. Nothing more, unless specified by the manufacturer.
Using strong chemicals is both unnecessary and problematic. Such chemicals can cause harmful interactions during the Autoclaving process.
Lastly, unless the manual tells you otherwise, avoid submerging the handpiece in any liquid.
4. Keep Your Eyes on the Bur
Thorough lubrication helps the handpiece’s internal components entirely purge all harmful bacteria. Removing the bur before lubricating and purging your handpiece allows for the most effective lubricating.
5. Pay Extra Attention to Your Port
The smaller of the two larger holes in your handpiece is called the drive air port, which should be your vessel for lubricant application. There are other openings found on the equipment, but don’t use those! It’s through the drive air port that your lubricant gains direct access to the turbine.
6. Be Generous with Your Oil…
Being stingy with oil might seem to make sense initially, as it would help avoid creating too much internal residue. Still, not being generous enough with your lubricant means it won’t do its intended job.
You should ensure that the lubricating oil is visible in the head before you stop applying it.
7. …But Don’t Go Overboard!
As was discussed in the previous section, just enough oil is a good thing. But too much of it will risk clogging your handpiece’s bearings.
Upon lubricating your instrument, attach it to the delivery unit tubing. From there, turn on the handpiece for half a minute. Alternatively, you could use an air flush station.
Note that excess oil might be discolored. Repeat the above process until the oil is 100% clear, so you know the handpiece is thoroughly cleaned.
8. Don’t Get Lost in the Darkness
Your fiber optics will become dim and dark when too much debris builds because it adversely impacts light transmission.
To combat this, clean all fiber optic surfaces with a cotton swab and alcohol. Remember not to use any sharp instruments to clean because they can do more harm than good.
9. Let Your Handpiece Relax
When your springs and levers compress during heating, they tend to weaken over time. This drastically hinders your handpiece’s shelf-life.
Release that tension by removing the bur and releasing the chuck levers before sterilizing your handpiece.
10. Always Remember Your Chuck
Chucks necessitate their own unique care, separate to the rest of your dental handpiece. Most frequently, applying lubricant provides the necessary attention for optimal function. You’ll want to perform this maintenance task at least once a week.
This can be done manually or through various dental equipment care systems.
Extract the Most Value from Your Dental Handpiece
Dental tools that don’t optimally function make for a substandard patient experience while hampering your ability to provide quality care.
Your handpiece is one of the most integral pieces of equipment you’ll have in your practice, and it must be well maintained! Learn more about premium quality parts, lubricants, and cleaners for your air driven dental handpiece.

